


"We had roughly 80 participants scheduled to receive their headshots within a relatively short time window, and Tori's team could not have been more accommodating, precise and professional."
HUBScott Simpson 
"Tori is truly a pleasure to work with. The team makes people feel comfortable in front of the camera to bring life to the candid photos she captures, and is kind, knowledgeable and professional."
Lincoln InternationalZoe Kofkin 
"Tori and her team were some of the best event photographers I've ever worked with in my nearly 20 years in the business as an event planner. The process of booking, adjusting our needs, and onsite experience were flawless."
National Hellenic MuseumSholeh Munion 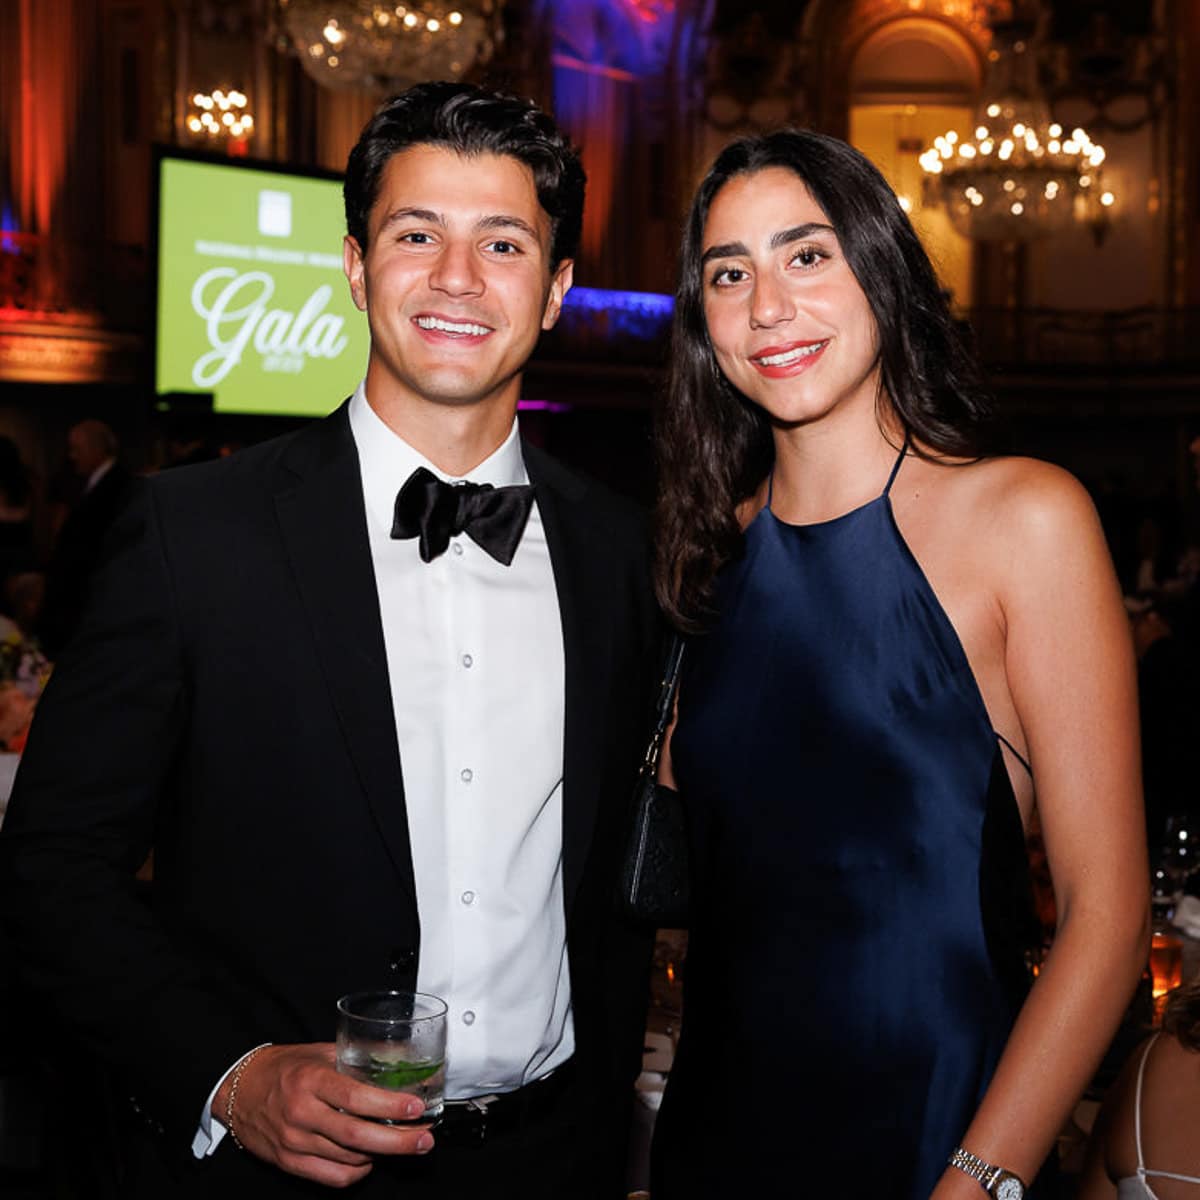
"Tori is absolutely amazing! All of the photos were gorgeous and perfectly captured the event. Also, the booking process is so easy and smooth. You should absolutely book out with Tori and her team!"
One Hope UnitedTanya Young 
"Tori and her crew are the best. Tori’s team is always on time, happy, and ready to get to work. The results are always wonderful employee photos (received with very a quick turnaround) that truly everyone is pleased with."
SG2-A Vizient CompanyMelissa Tralmer 
"Tori is really remarkable. Not only a fantastic commercial and editorial shooter, but fun, supportive, energetic, excellent vision, and works with a really stellar team to create fantastic results."
Corporate StorytellingSteve Multer 
"Truly a professional service with first class images! We all could sense Tori and her crew are passionate about their craft by their patience and kind disposition. So impressed that we'll definitely hire them again!"
BeldenCydney Muti 
"I’ve worked with Tori covering two of the largest industry trade shows and she is always ready for whatever I throw at her - and she is beyond professional and reliable. She's a gem personally and professionally!"
Inspired Home ShowDawn Evans 
"Tori is my go-to photographer for my organization's events. The look and feel of our marketing and social media is so much more professional and consistent since we started working with her!"
Public Library AssociationMary Hirsh 
"Tori and team were the upmost professional photographers as well as fun. The final product was delivered in a very timely fashion and the viewing platform is well organized. An overall winning experience with a fantastic team."
International Housewares Association Lori Szudarek 
"Tori is an amazing photographer! She is so good at capturing every important moment and every single detail during an event If you are looking for a extremely talented professional, look no further! You won't be disappointed!"
Haymarket Media, Inc.Anna Naumoski 
"Tori is a class act with a great eye and superb leadership and rapport on-site. She's agile, committed, creative, effective and efficient. She always strikes a great mood among executives during each session."
Lincoln InternationalCarrie Grapenthin 
"Tori and her team were incredible to work with throughout the entire process. They were extremely professional and thorough, which resulted in an amazing and seamless photoshoot and exquisite, high-quality photos."
MNJ TechnologiesJamie Porter 
"Tori and her team are the BEST. We had such a great experience with them on multiple occasions, they knew exactly what we needed for each shot, and the results are fantastic. Cannot recommend enough!"
Headlands TechAmy Maniscalco 
"Whether portrait or corporate lifestyle, Tori listens to what you are looking for in the shoot and gives great direction on how to accomplish that goal. Everyone is always thrilled with the results."
MoodyLarry Bohlin 